Wall-mounted or deck-mounted basin taps: plan before first fix
Choose the tap and basin together, before your plumber fixes the pipework and before the vanity drawing is approved. The important question is where the water lands and whether the finished arrangement leaves comfortable room for your hands.
The short answer
A wall-mounted tap keeps the worktop clear around the bowl, but asks you to resolve the concealed fitting and wall build-up early. A deck-mounted tap sits on the worktop and needs a suitable drilling position, space for its handle and access underneath.
Neither arrangement is automatically right for a bespoke vanity. Compare them against the actual bowl, worktop and room drawing, rather than choosing a tap from a photograph alone.
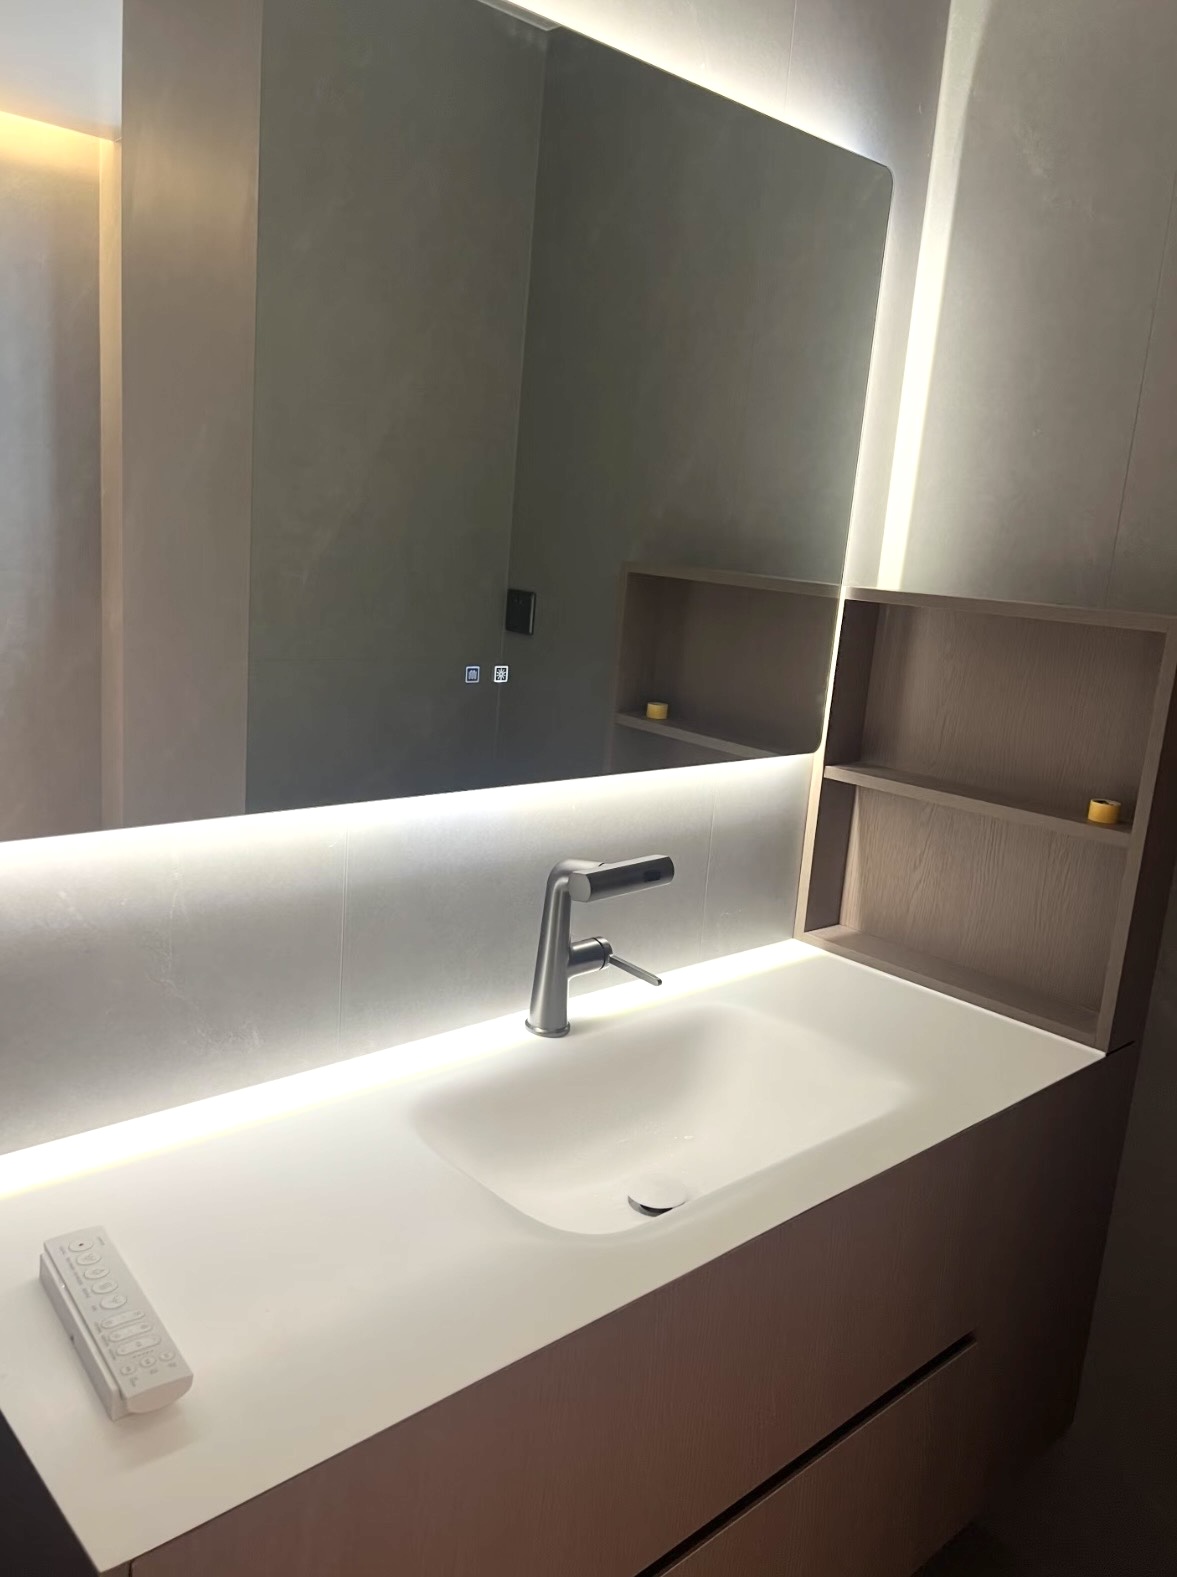
1. Start with the water outlet, not the tap's overall height
Ask for the tap's technical drawing. Identify the outlet position, spout projection and direction of the water stream. Put those details beside the basin section so your plumber can assess where water will land and how much usable hand space remains.
Manufacturer testing supports looking at the combination as a whole: hansgrohe checks tap and basin pairings for clearance, splashing at different pressures and practical hand-washing. A taller tap alone does not establish that a pairing will work.
Those tests describe the manufacturer's tested combinations. They do not certify a Lave basin or promise a splash-free result with an untested tap. Ask your installer to check the chosen arrangement and the supply conditions.
2. For wall-mounted taps, draw the finished wall
Mark the face of the finished tile or wall finish on the drawing. Include the proposed backing, adhesive and finish in the wall build-up your installer checks. Then show the basin's front-to-back position and the proposed worktop level on the same section.
A concealed mixer also has its own installation requirements. For example, hansgrohe's concealed basic set 13622180 lists a model-specific installation-depth range. That is a reason to use the selected fitting's instructions, rather than a generic depth for every wall tap.
Before first fix—the stage when the initial pipework is installed—ask your plumber to confirm the correct concealed body, its position, the completed wall build-up and the route for future servicing. Do this before the wall is closed or tiled.
3. For deck-mounted taps, confirm the hole and the space below it
Give the vanity maker the exact tap model and installation sheet. Confirm the required hole diameter, number of holes, mounting surface limits and underside fixing clearance before any drilling is agreed.
Also check the handle at its full travel. A tap can look comfortably spaced when switched off, yet put its lever close to a wall, mirror or upstand when operated. Allow your installer to check the actual movement.
Below the worktop, show the tap fixings, supply connections, basin waste and drawer arrangement together. Ask how each connection can be reached for installation and later maintenance; an attractive elevation does not answer that question.
4. Use a simple reach check
On a side-view sketch, mark the finished wall, bowl opening and tap outlet. For a wall spout, compare its outlet projection with the distance from the finished wall to the bowl. For a deck tap, use the mounting-hole centre as the relevant reference instead.
Illustrative geometry only: if the bowl opening begins 90 mm from the finished wall and the outlet projects 180 mm, the outlet sits 90 mm beyond that edge in the drawing. This does not tell you where an angled stream lands or whether the arrangement will splash.
Ask the plumber to assess the stream direction, bowl shape and available hand space. Do not treat the arithmetic, a central waste position or a universal tap-height rule as proof of compatibility.
5. Agree one drawing before fabrication
For a Lave integrated basin and worktop, include the chosen tap with the layout brief. The visual continuity is part of the design; it is not evidence of a particular construction method or a substitute for checking the plumbing details.
Before approving the specification, bring these details together:
- The tap model and its current technical and installation sheets.
- The finished wall position and proposed worktop level.
- The basin position, opening and section.
- The outlet projection, water direction and proposed tap-hole centres, where applicable.
- The waste, supply connections, drawer space and maintenance access.
- Your plumber's confirmation that the proposed fitting suits the site conditions.
If a tap changes later, send the replacement drawing back for review. A similar-looking model may place the outlet or fixing differently.
Bring the tap into your vanity brief.
Start with your room layout and preferred basin arrangement. Send the tap model with your enquiry so its position can be considered before the specification is confirmed.
Design your vanity →